Surfer: Lance Carleton
Photo: Andy Morris

Process

What it takes to make your custom fin!

Details on what goes into making a custom fin

There are a lot of steps involved in the making of a custom fin. Here we will describe what all of them are and what is involved. This might provide better insights into the art of making a state-of-the-art custom fin.

As you will see, there is a lot that goes into the making of a fin. It is a labor of love making custom fins, as nobody would be able to afford them if we charged what the effort is worth.

Fiberglass Panels

Most of our custom fins are made from solid fiberglass panels

E-Glass Fiberglass

E-Glass Fiberglass

E-Glass Fiberglass

Fiberglass Panels

The majority of our custom fins are made from fiberglass panels.

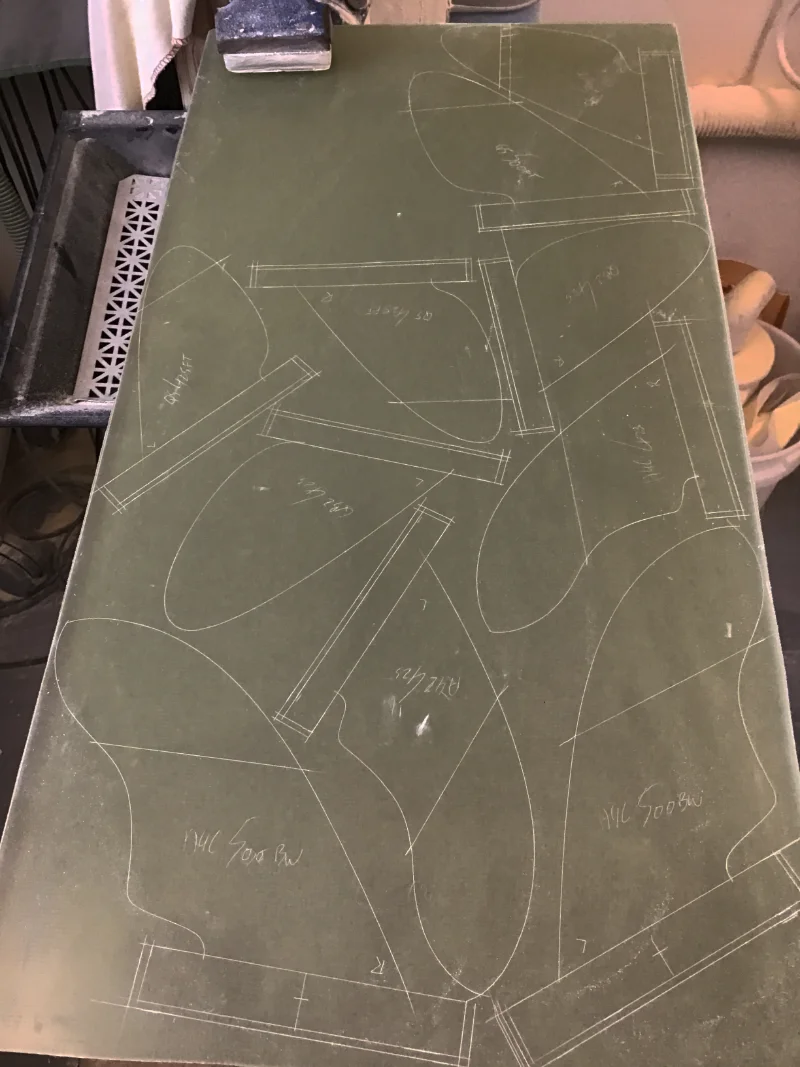
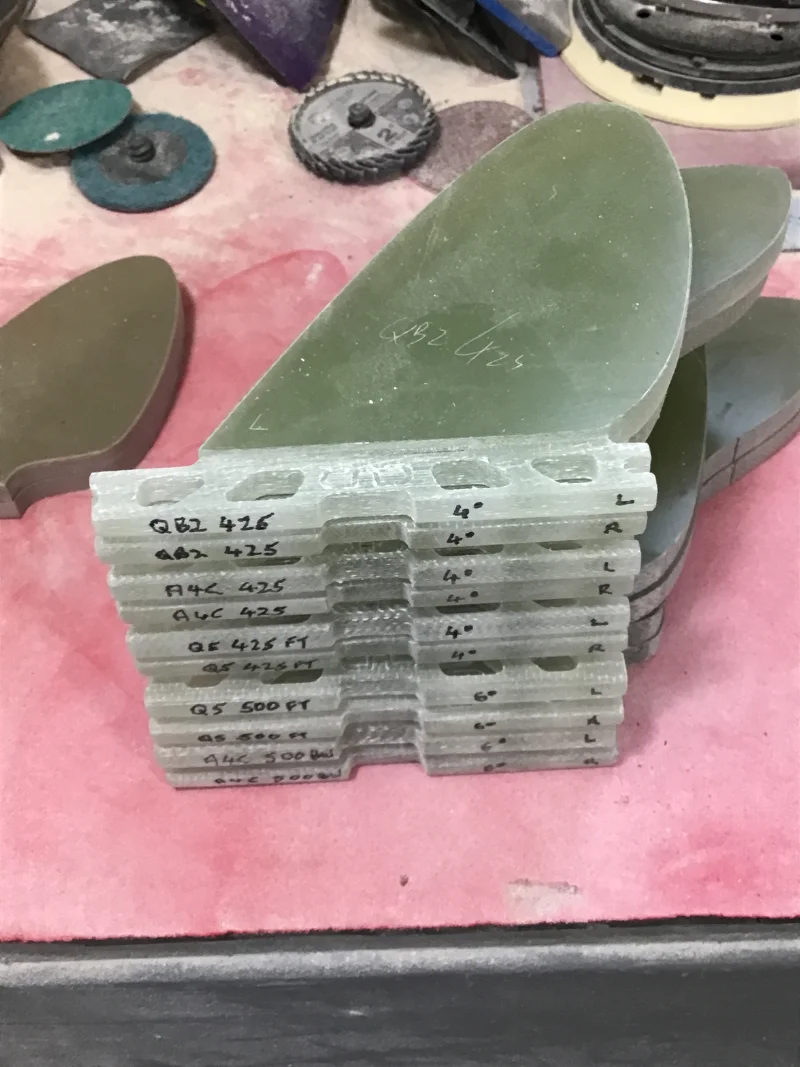
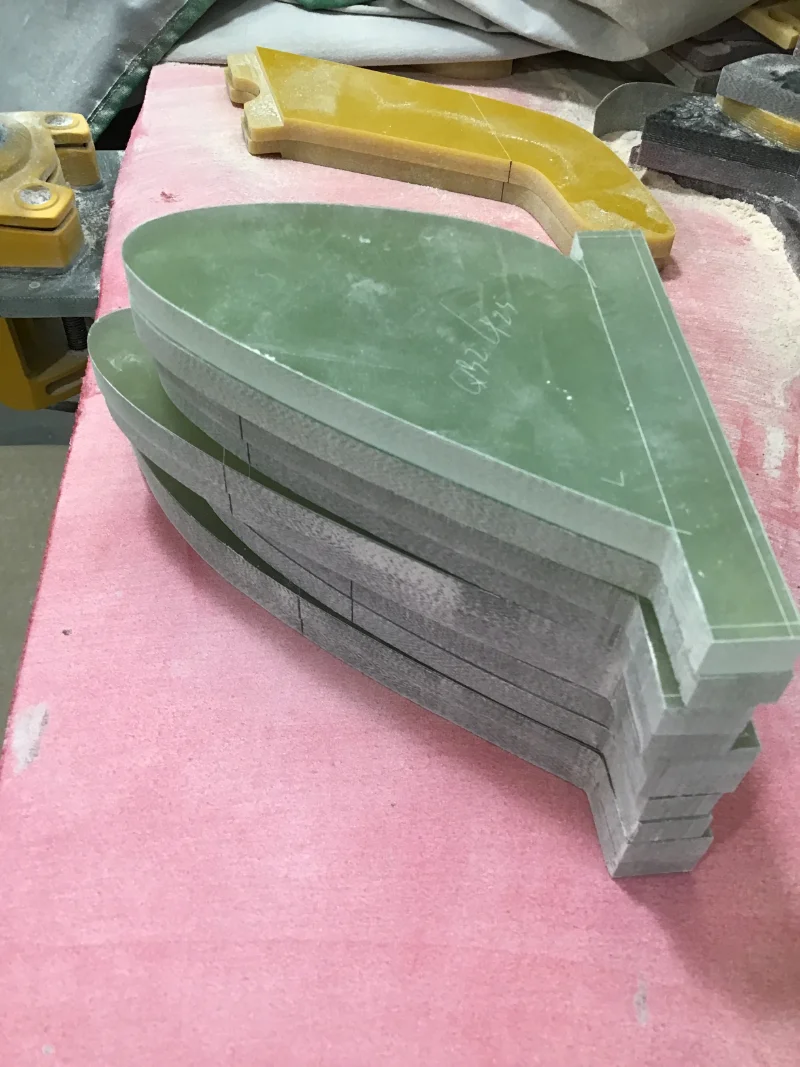
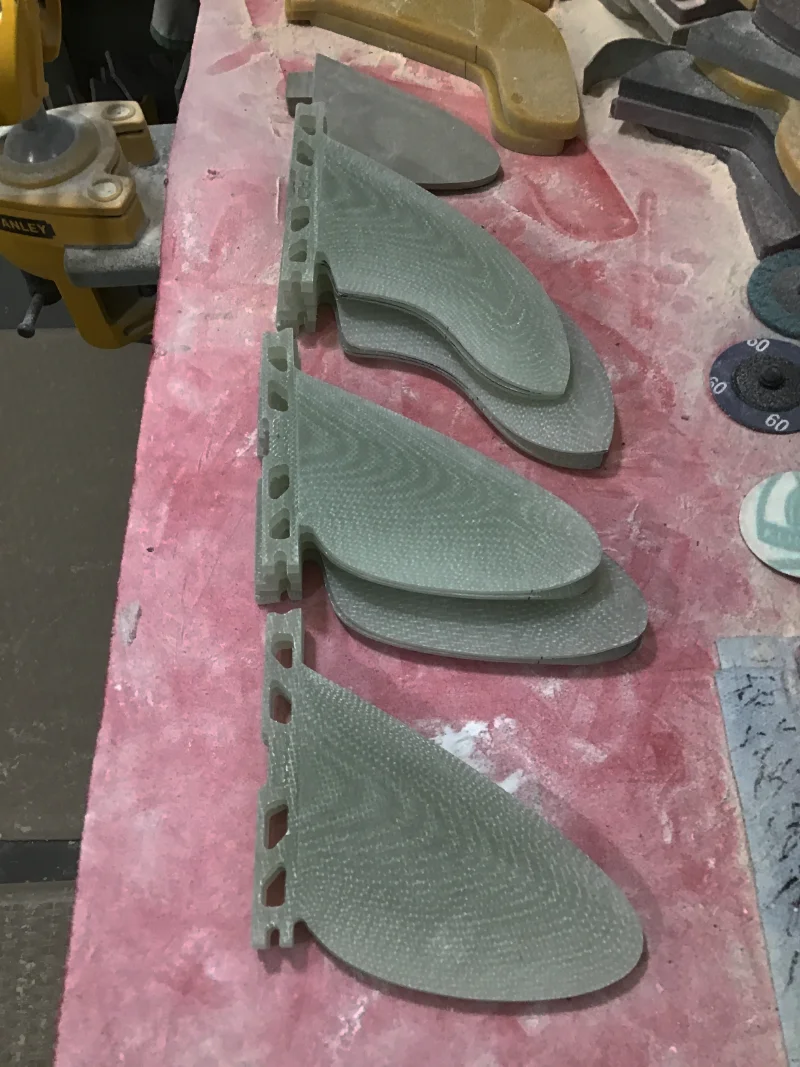
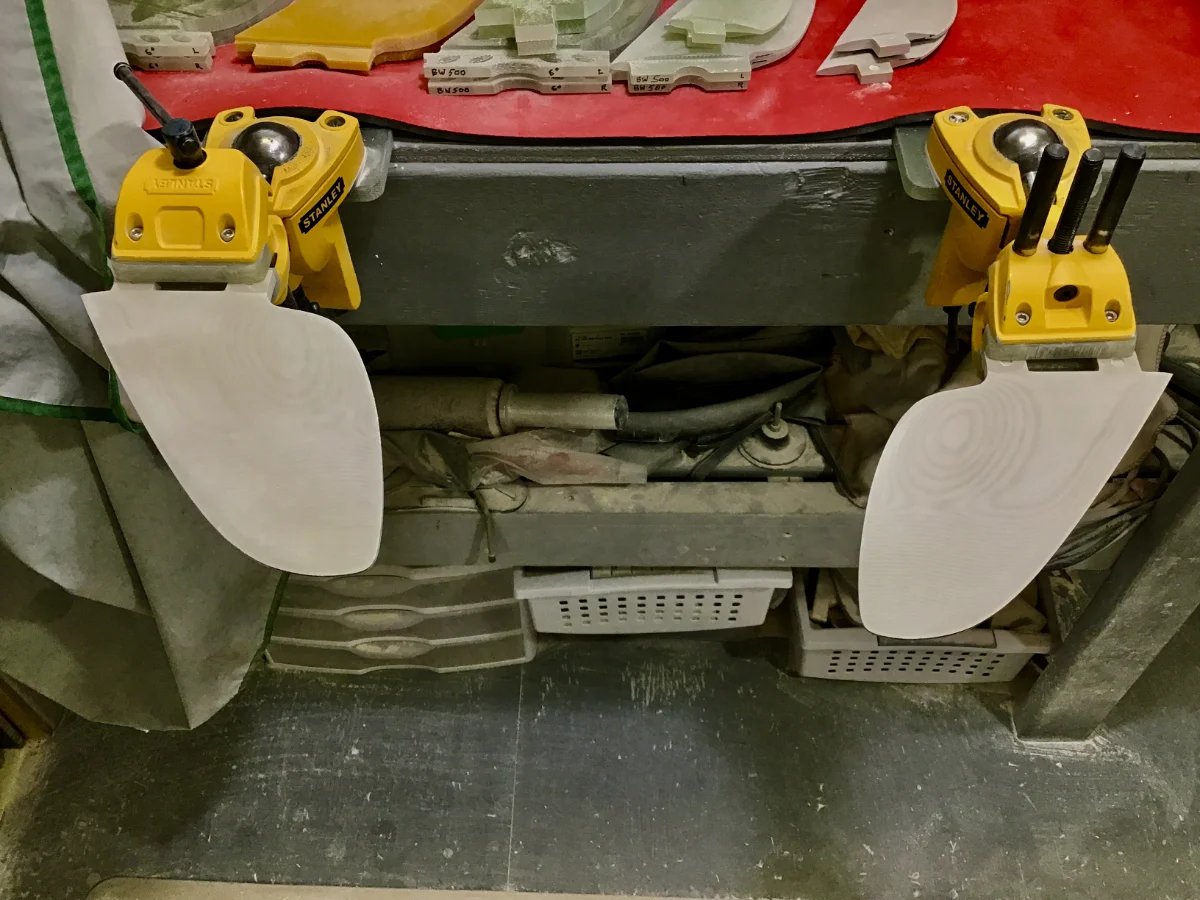
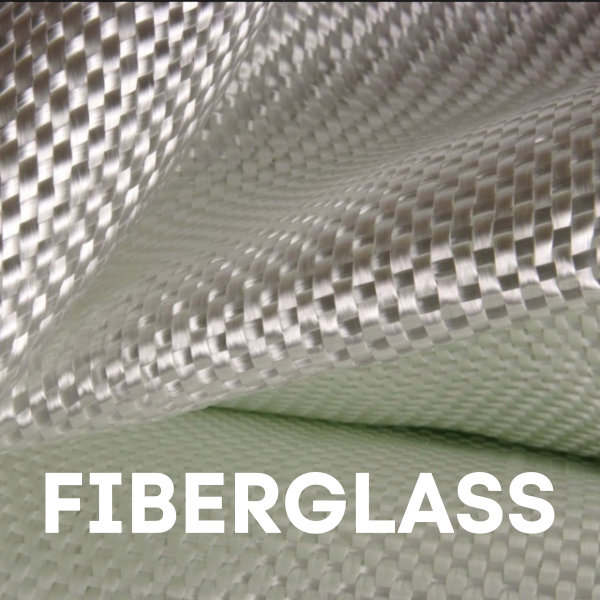
These panels are all hand-laid up from polyester resin and fiberglass cloth. The majority of the panels we employ are 3/8” thick to accommodate our PHATFOILS. A panel this thick is roughly 27-30 layers of fiberglass.

We also use G10 and PHENOLIC for some of our custom fins, but these are more for situations where the additional strength is required. These materials are more expensive and harder to foil, but they make beautiful and tough fins.

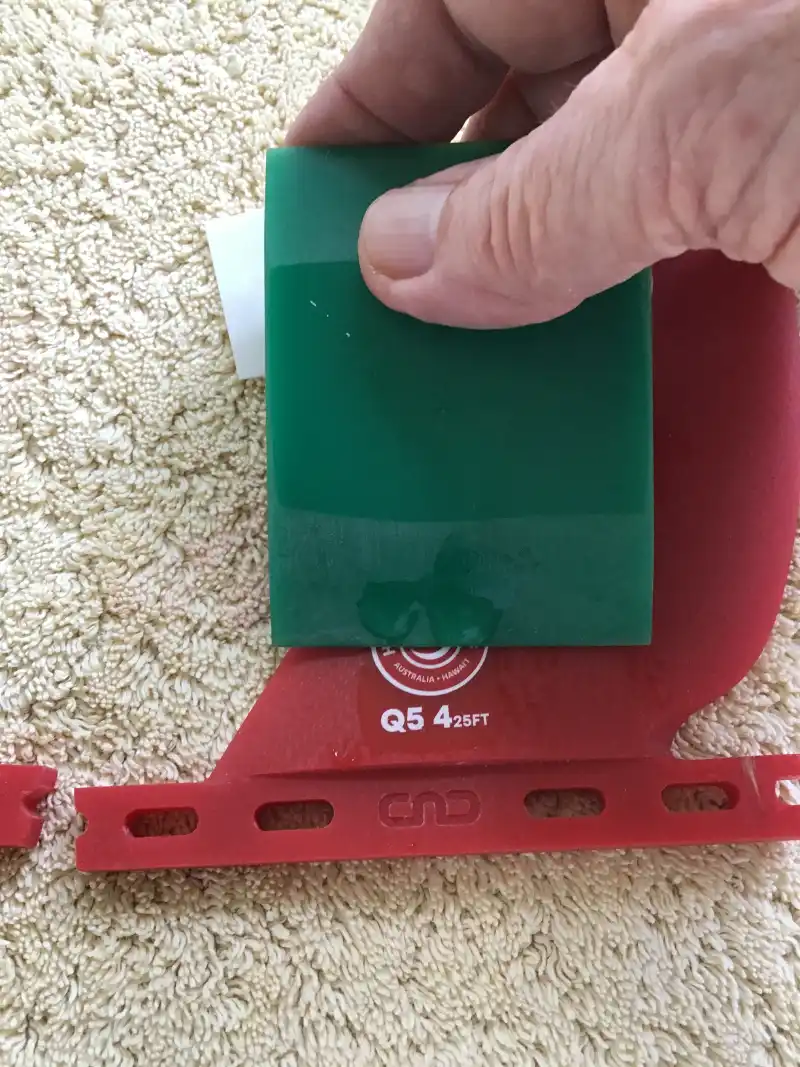
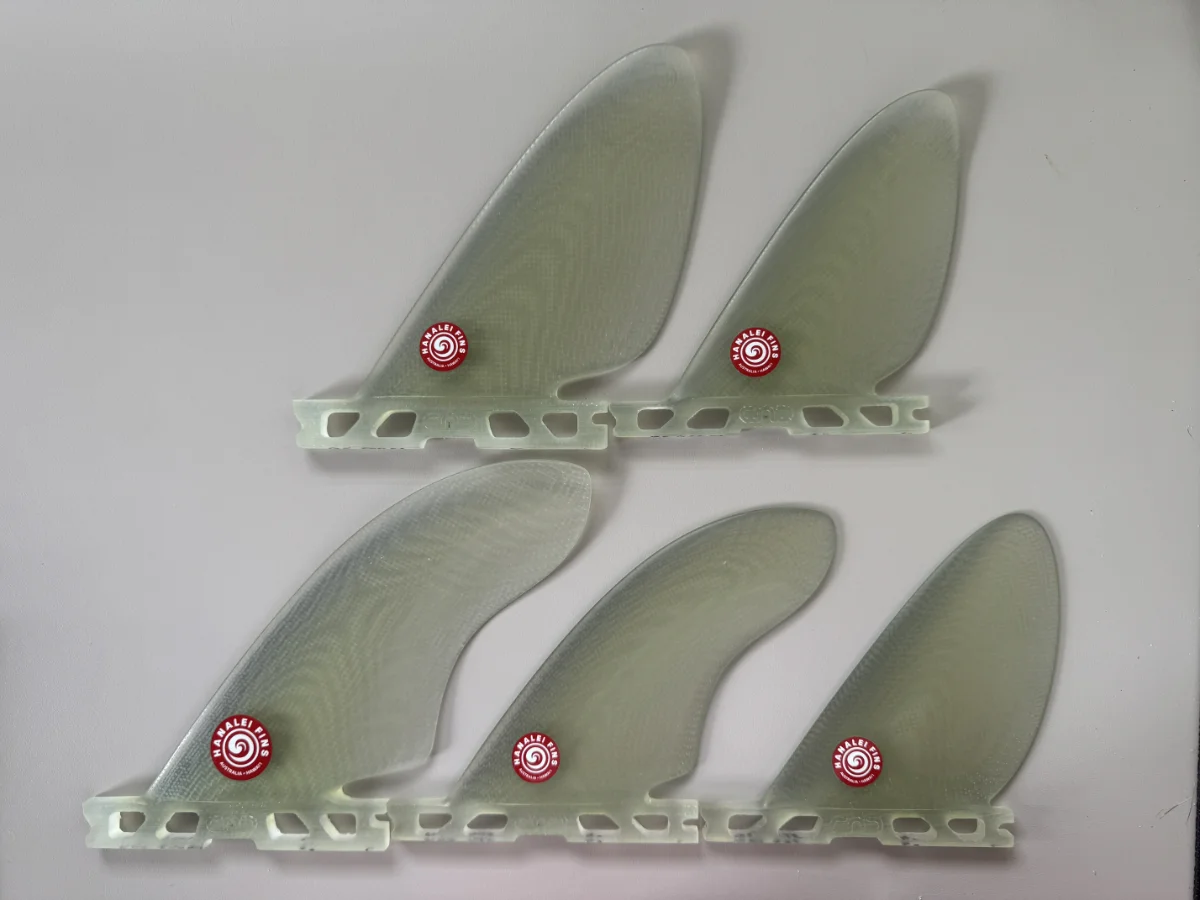
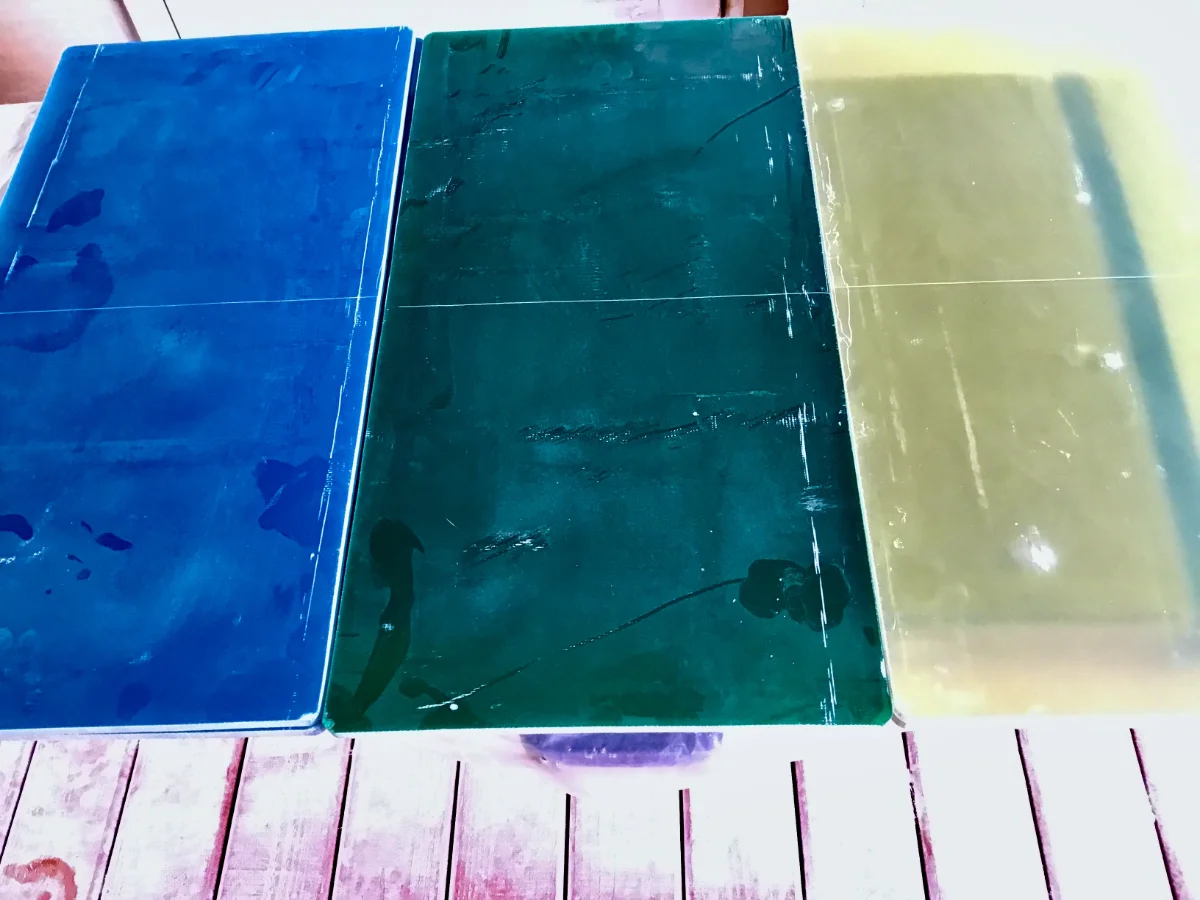
We only stock fin panels in a specific range of colors, so we are limited in the colors that can be offered for custom fins. These colors are—BLACK, SMOKE, WHITE, RED, AMBER, MANGO, and CLEAR. All of these colors are not always in stock, so check the stock status on the various pages where the fins can be ordered.

Scribing

Scribing involves mark the fin outlines on a panel

Scribing on CLEAR Panel

The scribing process starts off the creation of a custom fin; it requires patience in order to optimize the usage of the panel when laying out the fins.

The scribing process is driven by our order book. We work hard to optimize the use of the panel to minimize waste.

When scribing the fin, we have to take into account what type of base is going to be on the fin. Enough material has to be allowed for the CNC machine to cut out the base.

Depending on the colors of the fins in the order book, we could be scribing a number of different panels, for a run of fins.

Basing

The bases of the fins are cut on our CNC machine so that we can achieve accurate bases and thicknesses.

E-Glass Fiberglass

A stack of fins with FUTURES bases.

Because we make fins for all of the available fin systems, we have moved to using our CNC machine to cut the bases, as it is more accurate and allows each base to be identical.

Some fin system bases, FUTURES, are a nightmare to make for someone making custom fins, as they are close tolerance and also need to have cant angles machined into them. Plus, they come in two depths. To ease the pain of making FUTURES bases, we do the cutting on our CNC machine. It is slower but highly accurate.

Our GEARBOX bases are much easier to machine, but we still do them on the CNC, as it does a good job of consistently machining the correct base thickness and outline. DUAL TAB bases are a similar process to GEARBOX.

Profiling

Once the bases have been machined, the fins have to be profiled to true them up to their final outline.

E-Glass Fiberglass

A stack of profiled fins

Profiling involves truing up the outline of the fins. For side fins, these are done together so that the two fins match.

Profiling is done on a combination benchtop belt and disc sander, as this provides accuracy and vertical edges.

The profiling is done after the bases have been machined. This is so we can line up the bases and then profile the fins to the scribed lines originally laid out on the panel.

For side fins, double-sided tape is used to hold the two fins together so they can be profiled as a unit to ensure the templates are identical.

Foiling

Once the bases have been machined, and the profiles trued, the art of foiling begins.

E-Glass Fiberglass

Batch of foiled fiberglass fins

Foils play a crucial role in the design of a fin and can dramatically impact the performance. Most of our foils are loosely based around the NACA 00 series of wing sections ideal for fins.

The foiling process is where all of the magic happens, as the foils are what defines how the fin is going to flow through the water.

Our process involves using a number of different sanders and even some custom tools we had to create to facilitate the process.

Our fins are a little different than the majority of other fin companies, in that we have hollow inside foils on almost all of our fins. These are hard to machine with normal sanders, as they are simply too large to effectively carve out the foils. We built a couple of custom 2” sanders to help facilitate this part of the foiling operation.

It is not apparent when looking at a finished fin just how much effort goes into them. To provide some idea, here is what we go through during this phase of the process.

All of our various sandpapers that we use have the hook and loop method of attachment, as it makes it easy to switch grits.

Sandpaper
  1. 40-grit—Used for the rough foiling on 4.5” and 6” sanders with hard pads.
  2. 60-grit—This grade is used to blend the rough foiling, also done with a 6-inch sander and a soft pad.
  3. 80-grit—Utilizing on a random orbital sander to further blend the foils, with a 3.50” medium pad.

Finish Sanding

After foiling the fins they go through a finish sanding process

E-Glass Fiberglass

Finish Sanding G10 Fins

Once the major foiling has been completed, it is time to dial in the foils with the finish sanding.

Once the basic foiling has been completed, we move on to the finishing part of the process. It is during this phase that the final shape of the fin is dialed in. For a pair of fins, they are done side-by-side so that they can be compared to each other in order to make them match. Making fins by hand takes time and patience, and this phase is the most tedious, as it is here that the final shape can be made or ruined.

Because the basic foiling phase left the leading and trailing edges blunt, it is during this phase that all of the final shaping of the edges will be achieved.

Once again it is easiest to understand if we list the various grits of sandpaper that we go through to achieve the final finish.

Our fins are not sprayed with a finish coat, so they have to be polished to their final luster.

Sandpaper
  1. 80-grit—Utilized on a random orbital sander, in FINE cut mode, to blend the foils and true up the leading and trailing edges.
  2. Flat File—The leading and trailing edges are shaped into the final profile with a fine flat file, as these cut smoothly. This is then followed by numerous steps of sanding with various foam sanding blocks, all by hand.

    1. File the edges to the desired profile
    2. 100-grit screen used to hand sand the edges
    3. 36-grit foam sanding block
    4. 60-grit foam sanding block
    5. 80-grit foam sanding block
    6. 120-grit foam sanding block
    7. 220-grit foam sanding block
    8. 320-grit foam sanding block
    9. 2000-grit foam sanding screen.
  3. 120-grit—After the edges have been dialed in, the smoothing process starts with this grit, still on the 3.50” random orbital sander.
  4. 180-grit—Foam-backed sandpaper, all of these on a 5” random orbital sander.
  5. 180-grit—Mirka screen sandpaper.
  6. 220-grit—Mirka screen sandpaper.
  7. 320-grit—Mirka screen sandpaper.
  8. 400-grit—Mirka screen sandpaper.
  9. 360-grit—Abralon screen and foam sandpaper.
  10. 500-grit—Abralon screen and foam sandpaper.
  11. 1000-grit—Abralon screen and foam sandpaper.
  12. 2000-grit—Abralon screen and foam sandpaper.

On smaller fins and on the inside hollow foils, we use a 2” random orbital sander with 5 mm of motion for the last seven steps.

That is a lot of steps!

Branding

Before the finish is applied the fins are branded

E-Glass Fiberglass

Applying the branding

After all of the sanding is finished, the fins are branded with waterslide decals.

Waterslide decals are used to brand our fins. These are much easier to use than a silkscreen and can handle multiple colors with ease.

After application the decals are heat set before the final finishing stage.

Finishing

The last step is applying a finish to the fin

E-Glass Fiberglass

Finished Fins

We do not use spray-on finishes on our fins, as they are very toxic and mess up the foils.

All of our custom fins are finished with an organic oil. This oil does a great job of bending away the glass edges and does not leave an oily residue on the fins.

We discovered this oil accidentally, as we had been using it to prevent our hand tools from rusting. Once we tried it on a fin, we were sold, as it leaves a fantastic finish and no oily residue.

Leaves the foils in their natural state!